

Pinterest presents bloggers with a unique way to advertise their blogs and generate even more traffic for it. The main reason to create a Pinterest account, of course, is because this social media platform, if used correctly, can significantly increase your blog traffic but unfortunately, not many bloggers aren’t aware of this fact which is probably why the platform is still underutilized.
The first step to generating traffic from Pinterest is to establish your blog account. But before we get into that, there are a few things about Pinterest that you should know.


 Ideally, you should have a separate email that is linked to your business or in this case blog. If you do, be sure to use that to sign up, this way it makes it easier for you to keep your personal and business account separate.
 You will then be prompted to provide your website link. Enter your blog link at this point.
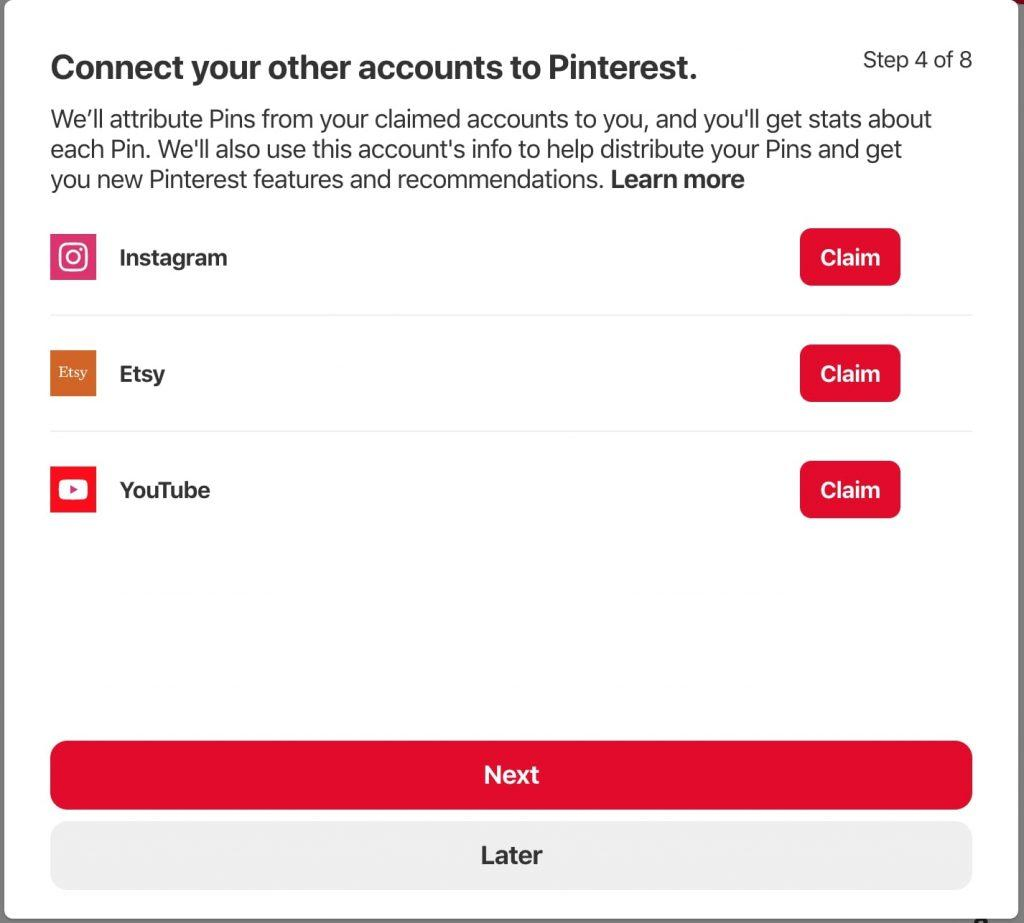
 Even after you create a Pinterest account, it shouldn’t stop there. You should probably also create Facebook, Instagram, YouTube, and Twitter accounts if they make sense for your blog. If you are ahead of the game, this is your opportunity to connect some of these other social media accounts as you create a Pinterest account.
This a neat option that will help you generate more traffic towards your Pinterest. So if you have an account for your blog on YouTube or Instagram, we recommend you link them.
Even after you create a Pinterest account, it shouldn’t stop there. You should probably also create Facebook, Instagram, YouTube, and Twitter accounts if they make sense for your blog. If you are ahead of the game, this is your opportunity to connect some of these other social media accounts as you create a Pinterest account.
This a neat option that will help you generate more traffic towards your Pinterest. So if you have an account for your blog on YouTube or Instagram, we recommend you link them.
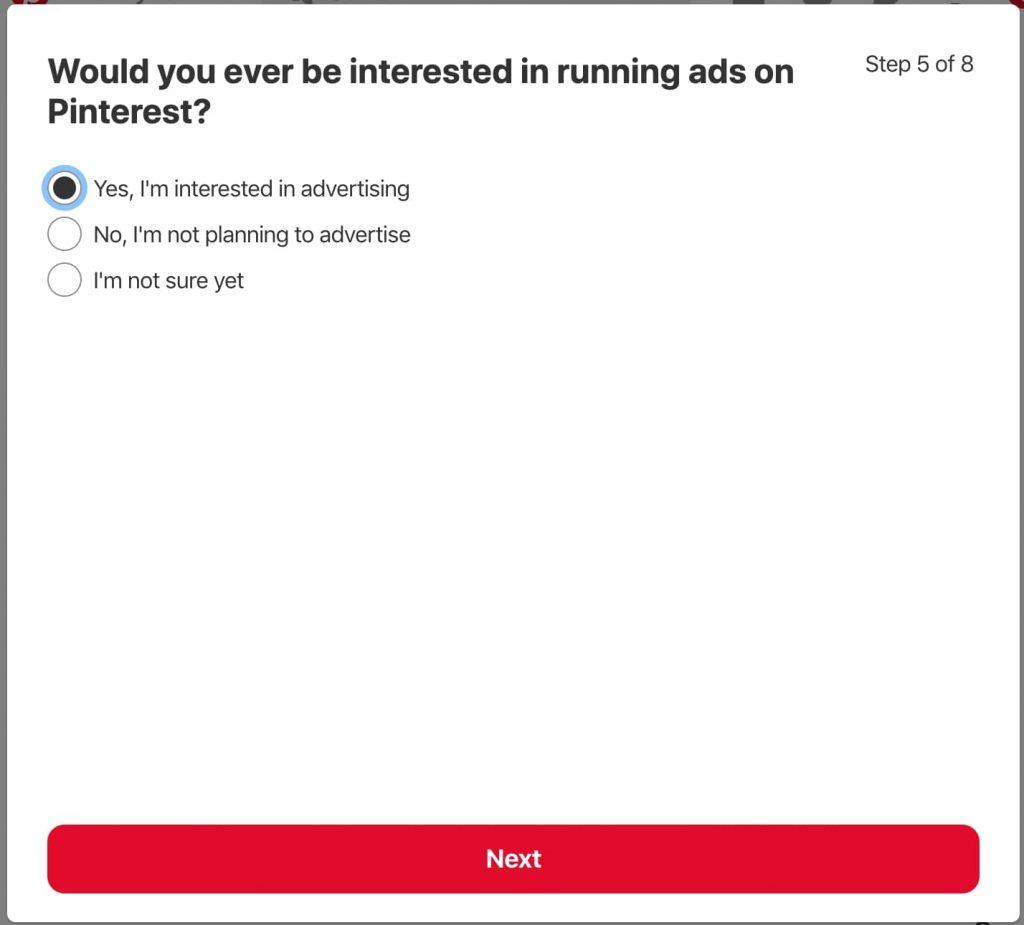
 Once you’ve linked your social media accounts, you will be asked if you want to run ad campaigns on Pinterest. These campaigns can be highly effective so we recommend you opt for it for future use. But if you aren’t sure at this point you can select the “I’m not sure yet” option rather than no.
 You will then need to pick at least one topic your blog falls under. Pinterest presents you with tons of options to pick from so be sure to scroll down and pick the best option. For example, if it is a blog for lawn care, you can select “Garden Design” and “Landscaping.” The more categories you select the more reach you can have. Do keep it relevant also of course!
 Here, you can add a photo for your blog. Ideally, display the logo you have for the blog or and image that is related to it. You can mention information about your profile or in this case blog, be sure to use your keywords in the description.
The more descriptive you are the better, this will help viewers understand what your blog is about and so on. Then complete the profile by adding your location.
Here, you can add a photo for your blog. Ideally, display the logo you have for the blog or and image that is related to it. You can mention information about your profile or in this case blog, be sure to use your keywords in the description.
The more descriptive you are the better, this will help viewers understand what your blog is about and so on. Then complete the profile by adding your location.

 Hit the “Claim” option next to your site’s URL.
 You now have the option to either “Add HTML tag” or “Upload HTML file.” You can select either but the HTML tag option is slightly easier.
site-review
Take the tag presented and add it to the index page of your website. You then hit click “Next” and “Submit” your site for review.
You now have the option to either “Add HTML tag” or “Upload HTML file.” You can select either but the HTML tag option is slightly easier.
site-review
Take the tag presented and add it to the index page of your website. You then hit click “Next” and “Submit” your site for review.
 After the review is completed, you will be able to pin links from your site and have your profile picture on display on these pins.
 You will then be directed to a page where you can add details about the pin. You can add images, pin from your site and so on here.

- Think of Pinterest as a search engine rather than a social media platform. While it is considered to be a social media platform, the number of followers helps but you can get views from anyone searching for a topic related to your blog.
- You need to treat your account like any business account, use it to advertise your blogs rather than a platform to network too much with other bloggers.
- The best way to get shares for your pin is if you share others.
- It will take time to garner views on the platform so be patient.
Heres how to create a Pinterest account for your blog
- Go to business.pinterest.com
- Enter your account details
- Fill out your blog details
- Edit your profile
- Claim your website
- Create your first pin
1. Go to business.pinterest.com
Before you start the process of creating a business account, you want to make sure to log out of your personal account. Once that is done, go to business.pinterest.com. Here, you will need to click the “Join as a business” or “Sign up” button.
2. Enter your account details
You will then be directed to a page where you can enter the e-mail address you want associated with the account along with a password. Once you have entered the details, hit the “Create account” button.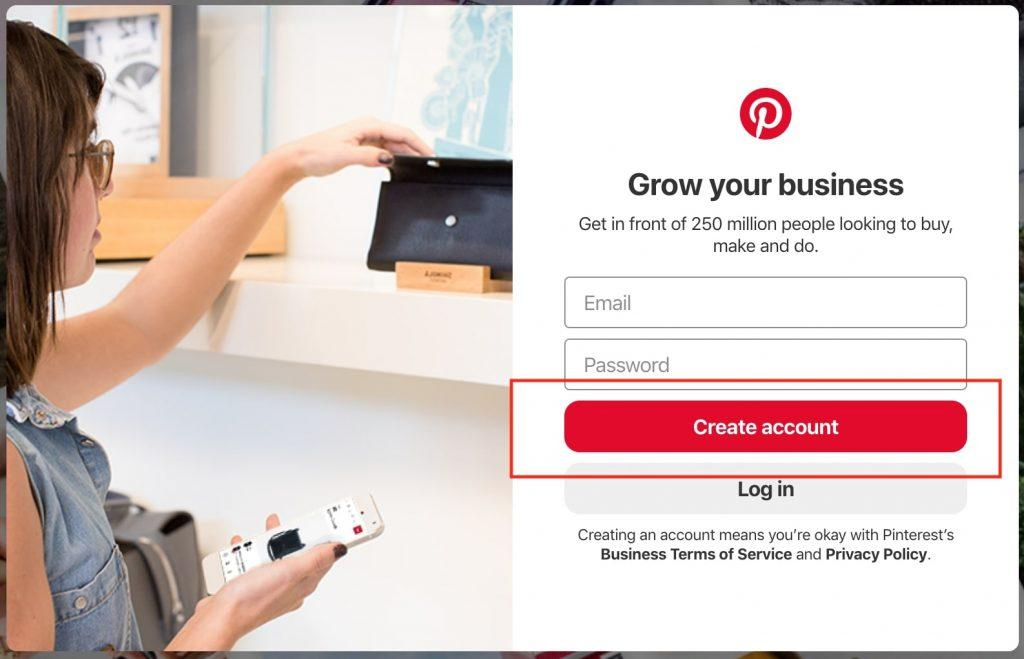 Ideally, you should have a separate email that is linked to your business or in this case blog. If you do, be sure to use that to sign up, this way it makes it easier for you to keep your personal and business account separate.
3. Fill out your blog details
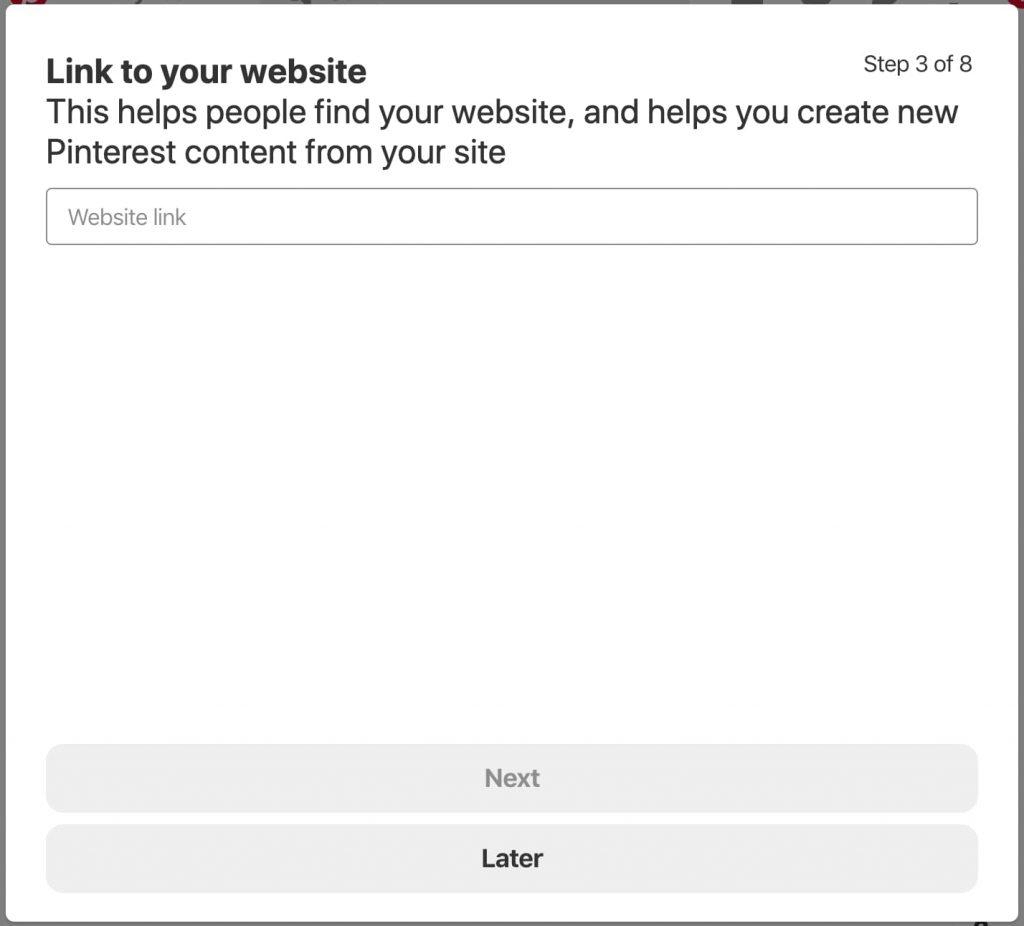
After entering your account details, you will now be asked a series of questions related to your blog. First, you will need to give your business profile a name and select the type of business you have. So, under the business name, you mention the name of your blog and select “Brand” under “Tell us about your business.”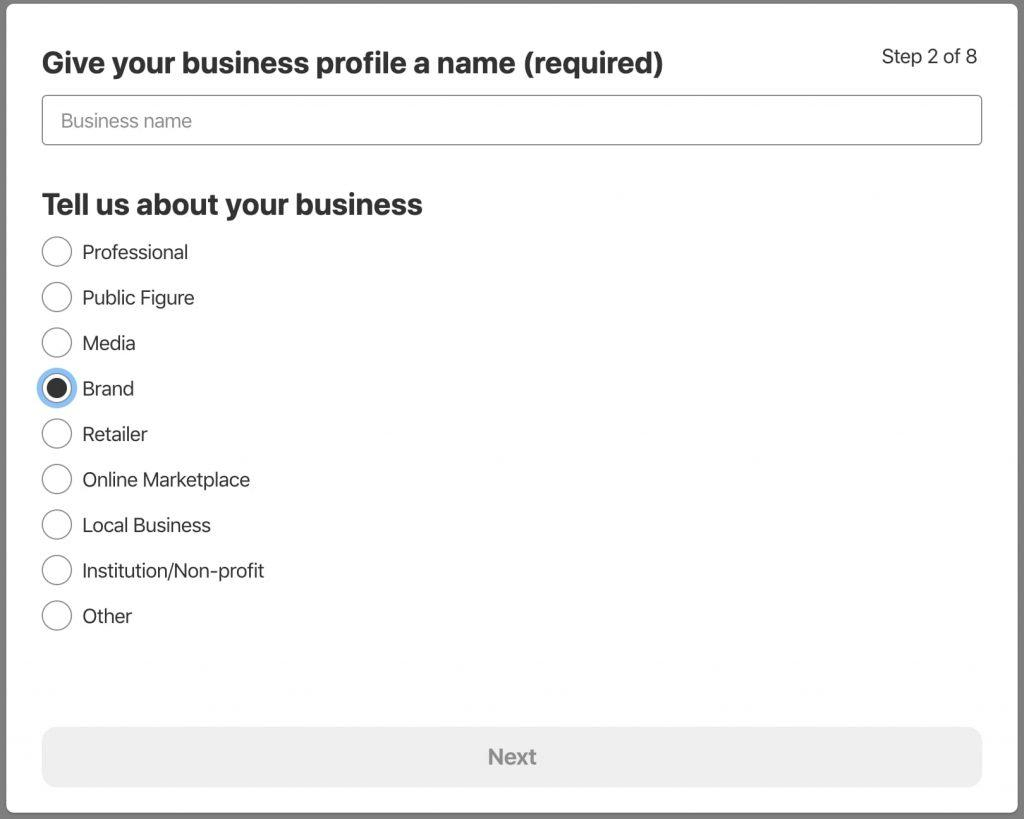 You will then be prompted to provide your website link. Enter your blog link at this point.
 Even after you create a Pinterest account, it shouldn’t stop there. You should probably also create Facebook, Instagram, YouTube, and Twitter accounts if they make sense for your blog. If you are ahead of the game, this is your opportunity to connect some of these other social media accounts as you create a Pinterest account.
This a neat option that will help you generate more traffic towards your Pinterest. So if you have an account for your blog on YouTube or Instagram, we recommend you link them.
Even after you create a Pinterest account, it shouldn’t stop there. You should probably also create Facebook, Instagram, YouTube, and Twitter accounts if they make sense for your blog. If you are ahead of the game, this is your opportunity to connect some of these other social media accounts as you create a Pinterest account.
This a neat option that will help you generate more traffic towards your Pinterest. So if you have an account for your blog on YouTube or Instagram, we recommend you link them.
 Once you’ve linked your social media accounts, you will be asked if you want to run ad campaigns on Pinterest. These campaigns can be highly effective so we recommend you opt for it for future use. But if you aren’t sure at this point you can select the “I’m not sure yet” option rather than no.
 You will then need to pick at least one topic your blog falls under. Pinterest presents you with tons of options to pick from so be sure to scroll down and pick the best option. For example, if it is a blog for lawn care, you can select “Garden Design” and “Landscaping.” The more categories you select the more reach you can have. Do keep it relevant also of course!
4. Create your profile
You now need to make sure you have your profile completely filled out. On the top panel, you will notice an icon of three dots, click on it and select the “Settings” options.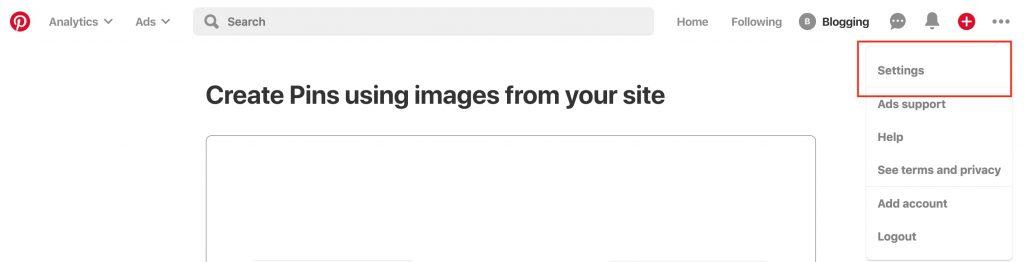 Here, you can add a photo for your blog. Ideally, display the logo you have for the blog or and image that is related to it. You can mention information about your profile or in this case blog, be sure to use your keywords in the description.
The more descriptive you are the better, this will help viewers understand what your blog is about and so on. Then complete the profile by adding your location.
Here, you can add a photo for your blog. Ideally, display the logo you have for the blog or and image that is related to it. You can mention information about your profile or in this case blog, be sure to use your keywords in the description.
The more descriptive you are the better, this will help viewers understand what your blog is about and so on. Then complete the profile by adding your location.
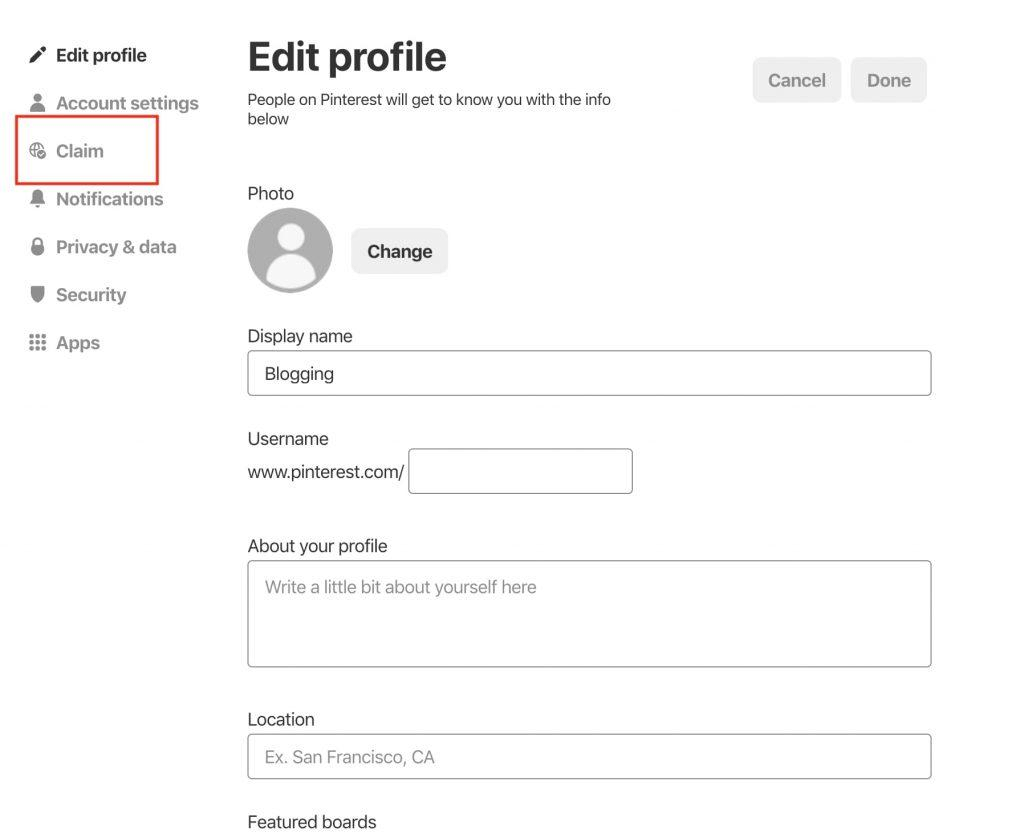
5. Claim your website
Claiming your website will help link your site to your pins, it sort of confirms that the site is yours and associates it with the account. In order to claim your website, click on the “Claim” tab under “Settings.”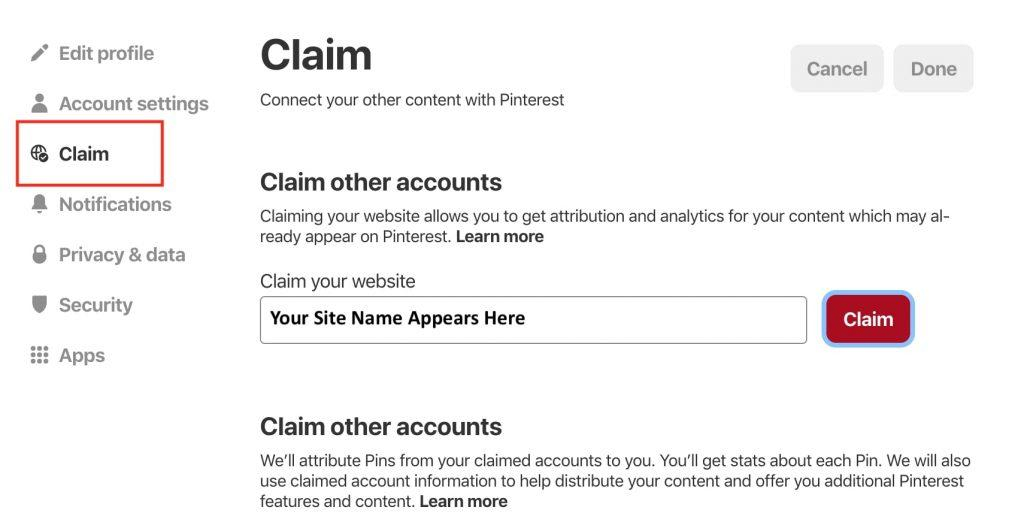 Hit the “Claim” option next to your site’s URL.
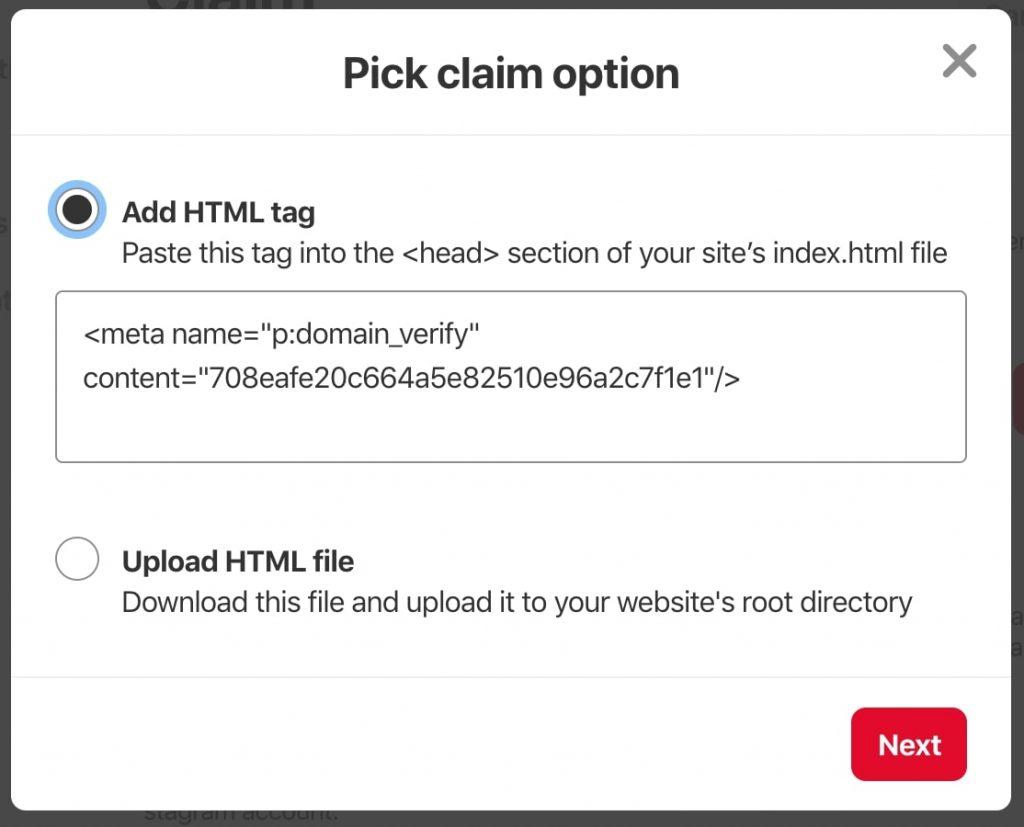 You now have the option to either “Add HTML tag” or “Upload HTML file.” You can select either but the HTML tag option is slightly easier.
site-review
Take the tag presented and add it to the index page of your website. You then hit click “Next” and “Submit” your site for review.
You now have the option to either “Add HTML tag” or “Upload HTML file.” You can select either but the HTML tag option is slightly easier.
site-review
Take the tag presented and add it to the index page of your website. You then hit click “Next” and “Submit” your site for review.
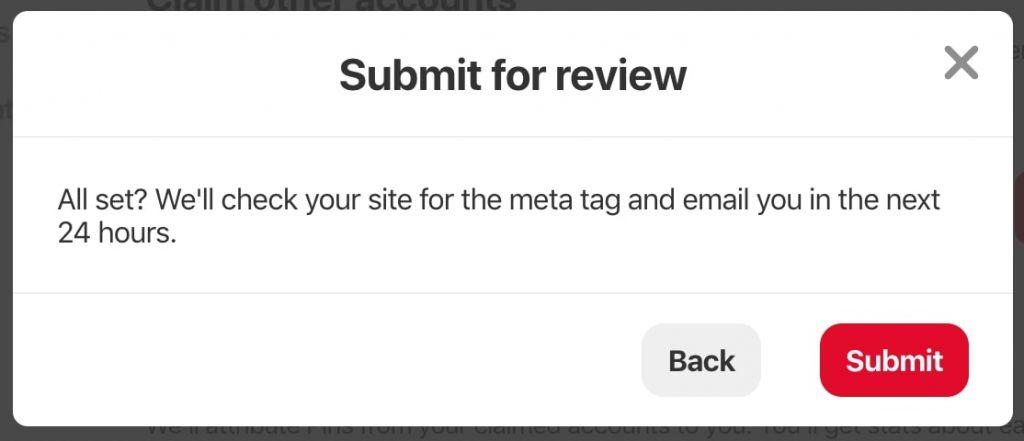 After the review is completed, you will be able to pin links from your site and have your profile picture on display on these pins.
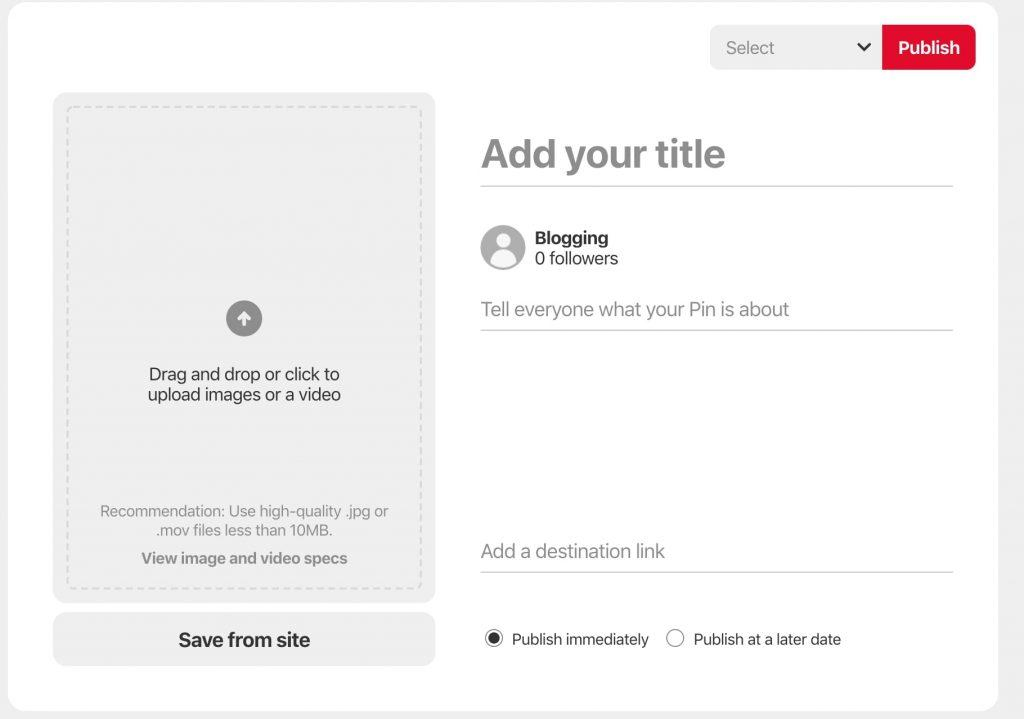
6. Create your first pin
Now that you’ve completed the whole process of creating an account and linking it to your website, you are ready to post your first pin. On the top panel, you will notice a button with a “+” click on it and select “Create pin.” You will then be directed to a page where you can add details about the pin. You can add images, pin from your site and so on here.
Tips for building your blog traffic using Pinterest
Capture the viewers with pinnable images
Pinterest is all about images, you want to entice viewers by posting great images. The better the image used, the more views you will have which will automatically result in more visitors clicking through to your blog. Therefore, you need to ensure you use visuals to your advantage to get more blog reads.Engage with your followers
Like any other social media platform, you need to engage with your followers to get more views and a following. In order to do this, you want to make sure to:- Share content that is original and relevant to your audience.
- Be sure to actively pin, this means you need to consistently pin.
- To show appreciation of your followers, be sure to follow them back. You can also repin your followers.
- For ideas for your blog and pins be sure to check your follower’s boards and pins.
- Ask questions related to the answers you’ve given in your blog.
Use SEO techniques when pinning
As mentioned before, Pinterest works like a search engine. In order for users to find your pins that lead them to your blog, you need to practice good SEO techniques. But before we get into tips related to SEO, you need to first go to “Settings” and set your “Search Privacy” to public. This way anyone can find the pins you post. Then while posting pins, you want to make sure to do the following:- The title of the board should be the same as your blog title.
- In the description of the post, be sure to use relevant keywords. So when these keywords are searched on Pinterest, your post will appear.
- Use hashtags in the description especially if you don’t know which keywords to use.
- Use keywords within the images tag.
Make your blog posts are easy to Pin
Pinterest gives you the option to make the posts you create on your blog to be pinned by your followers directly from your site. This allows you to reach a wider audience since your followers will share it with their own and so on. All you have to do is access the Pin it button builder. Here you can build a widget for your “Pin it” button. All you have to do once the button is generated is to take the code provided to you and paste it onto your website. According to Pinterest one of its members, AllRecipes gained 120 million total impressions by adding the Pin it or Save button to their website. Overall, the brand saw 50,000 of their recipes shared on Pinterest with this feature which helped them reach a wider audience. The study shows just how impactful this option can be for bloggers and other businesses. To sum up, Pinterest is much more than a platform for personal use. It is becoming a great tool for businesses and blogs to advertise and generate more traffic. With the help of images, it allows bloggers to capture their audience’s attention to direct them to their blogs. It also makes it easy for pinners to share your blogs with the “pin it” option. As the social media platform continues to grow, as a blogger it is important that you become part of the vibrant community Pinterest has to offer. After all, it will help you exponentially increase the readership of your blog. Which is what every blogger wants.