Last Updated on
Table of Contents
Download the Contact Form 7 Plugin
From your WordPress dashboard, head to your “Plugins” page and choose the option “Add New.”
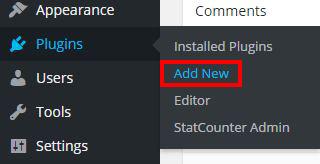
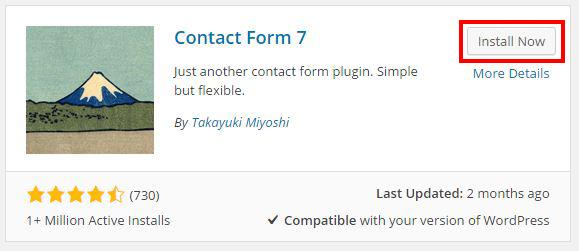
In the search section on the right-hand side, type in “Contact Form 7.” Find the appropriate plugin (it should be the first one), and choose “Install Now.”
On the next page, click “Activate Plugin.”
Set Up Your Contact Form
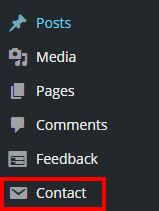
Now that the plugin is activated, you’ll notice a new “Contact” area on your left-hand toolbar in your WordPress dashboard. Click on it and choose “Add New.”
If you want to use English as your default language, click “Add New” on the following screen. Otherwise, you can choose your language from the drop-down menu and then select “Add New.”
The following page will look like this:
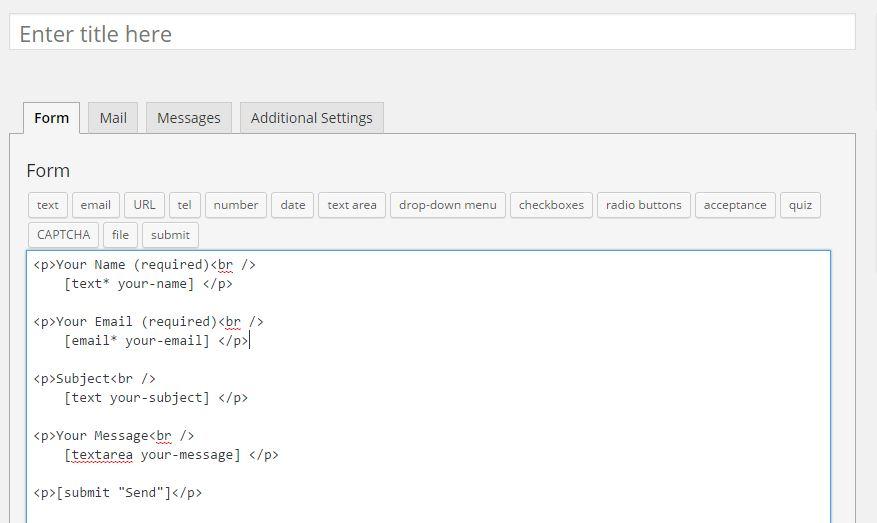

Start by entering a title for your contact form. This is not something your viewers will see, so feel free to nick-name it as you wish.
In the text box below the title is where you can customize the contact fields. If you’re not familiar with HTML, that’s okay. The set-up process is still fairly simple.
By default, your contact form will include these fields:
- Your Name (Required)
- Your Email (Required)
- Subject
- Your Message
You will also see the code for a “submit” button.
The default will end up looking a lot like this on your site, though styling may vary based on your theme:
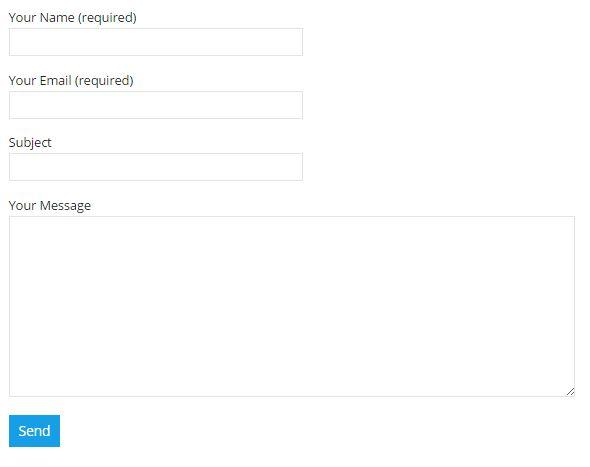
If you want to get rid of one of these fields for some reason, find the corresponding code and delete it. (Codes for a single field are encased in paragraph tags, beginning with <p> and ending with </p>.)
If you want to add a new field, place your cursor where you’d like to insert it. Then, follow the same format for the fields already present. It should look like this:
<p>TITLE OF FIELD<br />
[field shortcode] </p>
The title you place between <p> and <br /> will show up as text above your chosen field in the contact form. To find the appropriate shortcode and to customize it accordingly, choose from the options directly under the word “Form.” Follow the instructions given in the pop-up window.
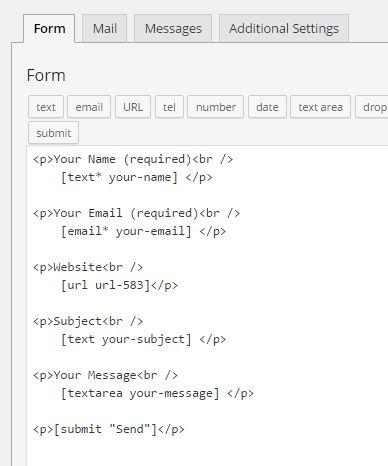
Let’s take an example. If I wanted to have contacts include their website and I wanted this field to show up after their email, I would place my cursor between the “Your Email” section and the “Subject” section.
Then, I would type in <p>Website<br />, press enter, and then choose “URL” from the option buttons. In the pop-up window, I can customize my settings, such as choosing to require this field. In this case, I have simply gone with the defaults and clicked “Insert Tag.” Then, I added the paragraph closing tag (</p>).
This is what the form looks like in HTML format:
This is what it now looks like live:

Now that your fields are customized, visit the other tabs next to “Form” to ensure the settings are as you please. For instance, in “Mail,” you may decide to change the “To” or “From” address. The “To” address is where you will receive the messages sent through your contact form.
All done? Hit the “Save” button at the bottom or the right-hand side of your screen.
Add Your Contact Form to Your Blog
Now it’s time to make your contact form go live. There are two simple ways to display a contact form on your site, and we’ll cover both below.
1. Display Your Form on a Page/Post
Inserting your contact form into a page or post is very simple. After you’ve hit “Save,” you’ll notice a shortcode show up directly below your contact form’s title.
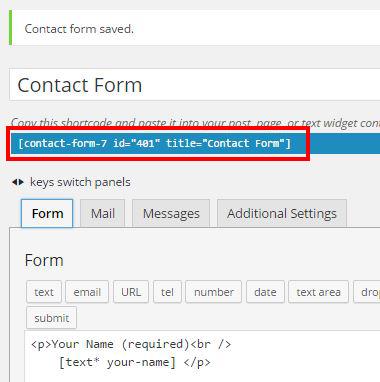
Right-click on the shortcode and hit “Copy.”
Then, navigate to the post or page you want to display your contact form on. Place your cursor where you’d like the form to show up, right-click, and choose “Paste.” (You can paste it while in visual or text mode, it doesn’t matter.)
Simple as that! Make sure to preview your page to ensure your contact form is showing up properly.
2. Add Your Form as a Widget
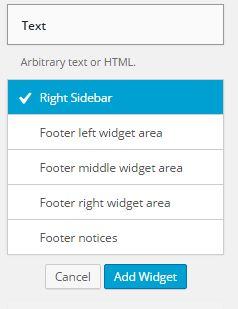
To paste your contact form as a widget in your sidebar or footer, head to the widgets customization section in your WordPress dashboard by going to Appearance > Widgets. From the available widgets, choose “Text,” and then add the widget to the proper sidebar and arrange it accordingly.
In the “Content” section of the widget, paste the shortcode you copied from your contact form’s edit page. Feel free to add a title to the widget, which will show up above the contact form on your site. Then, hit “Save.”
There you go! Now you’re all ready to start gathering feedback on your site. Feel free to shoot yourself a test email just to make sure the form is working.